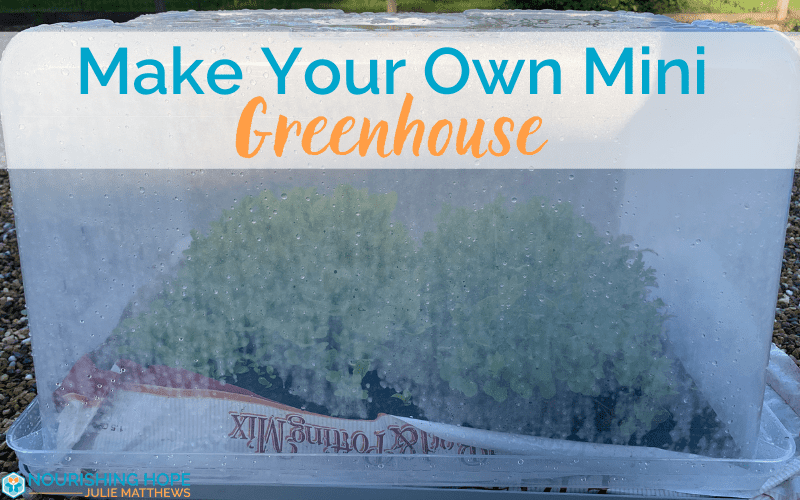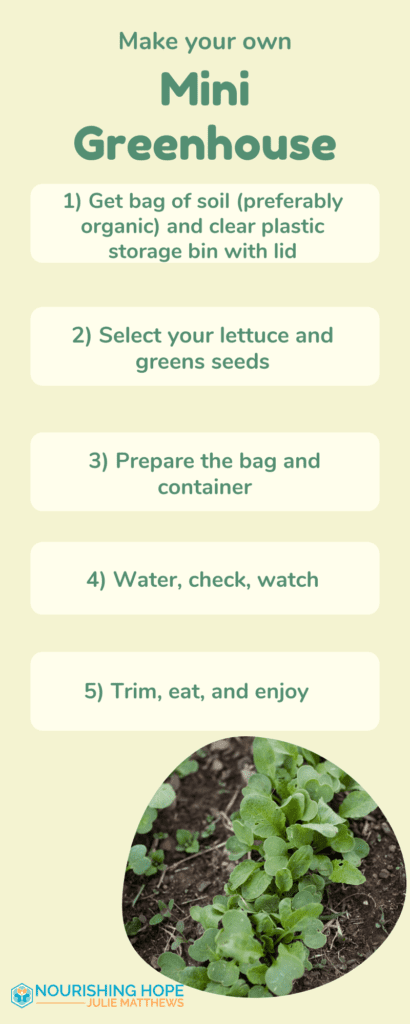
Spring is on its way but in some areas of the country (and world) it is still a little too cold to begin planting in your outside garden. But, what if I told you that you can make a small, portable greenhouse with just a few basic supplies?
It is easy (and inexpensive) to have your own homegrown, organic baby greens when you want them with a do-it-yourself mini greenhouse.
My daughter and I really enjoy doing this project together and your kids may like it too! And it can inspire all children (even picky eaters) to try new foods when they have a hand in growing them!
This also would make a fun science project for homeschoolers or a project for a science fair!
This project does not require any sort of advanced gardening skills, in fact it is perfect for the novice gardener just getting started! In a greenhouse setting, the plants stay moist unlike in an outdoor garden bed where the water evaporates quickly and requires more attention and care. And what is great is that it is not dependent on the weather, you can grow this way at any season and even in a city apartment on a patio or even a sunny window. You don’t need any ground to grow in. Baby greens grow quickly which means you can begin harvesting them in just about 3 – 4 weeks! So, for those of us that like to see the fruits of our labor rapidly, this project is very satisfying and keeps children’s attention.
Nutritional Content
Baby greens have a more delicate texture so for those who feel that mature greens are too tough or stringy, baby greens may be a great option! They also offer wonderful nutritional value. Greens are an excellent source of vitamins C and K, folate, beta-carotene and lutein.
In terms of which form (baby greens, microgreens, or mature plants) packs the best nutritional punch? It looks like baby greens are best, followed by microgreens, and then mature plants. This study by Waterland et. al. on kale showed the variations in mineral content.[1] Then this study by Lenzi et. al looked at the differences between microgreens and baby greens in antioxidants and minerals for three wild leafy species.[2]
Sprouts also have wonderful nutritional value and I’m not suggesting there is anything wrong with any of these forms of greens. They are all wonderful and nutritious!
Sprouts, Microgreens, Baby Greens
– What’s the Difference?
 Sometimes there is confusion about what is a sprout vs. a microgreen vs. a baby green.
Sprouts: Sprouts don’t require extra nutrients to grow, in fact they use the nutrients stored inside the endosperm to grow. Water is the only other requirement. That means you can use a mason jar to grow them. Typically, sprouts are grown for 3-5 days until harvest, but there are some sprouts that people tend to grow a little older until day 6-7. If you want to learn how to make your own broccoli sprouts, you can check out the blog, Make Your Own Broccoli Sprouts, dedicated to that superfood.
Microgreens: Microgreens have more flavors and taste more like their mature plants versus baby greens. Microgreens are grown in soil and are harvested around two weeks, shortly after the first two leaves develop. Microgreens are planted more densely and yield more produce faster than baby greens.
Baby greens: Baby greens are more mature than microgreens and are harvested after three to four weeks. With baby greens you harvest the actual leaves of the plants when they are small (rather than the sprout and initial two leaves as with sprouts and microgreens). Baby greens have a bit more nutrients than microgreens.
So Which Greens Are Best to Grow as Baby Greens?
I personally love to grow any kinds of green leafy vegetables but especially:
- Lettuce (any variety)
- Kale
- Arugula
Some people grow spinach but it is not one of my favorites because of the high oxalates.


0 Comments